3D Layered Geometric Panel: A Creative Design for Home and Wall Decor
The 3D Layered Geometric Panel is a modern design that has gained popularity among artists, decorators, and DIY enthusiasts. It offers a visually striking way to add depth, texture, and artistic flair to any space or project. Whether you're looking to enhance your home decor, create custom wall art, or design a unique gift, this versatile piece can be tailored to suit your needs.
What Is a 3D Layered Geometric Panel?
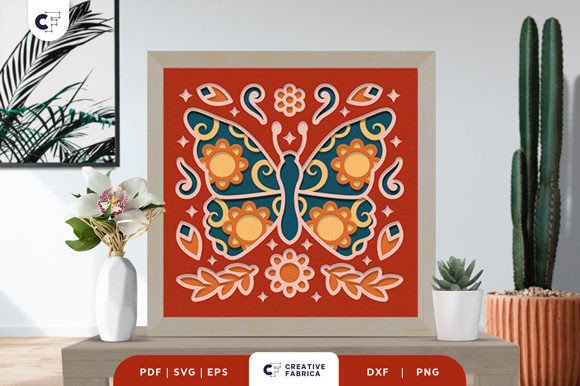
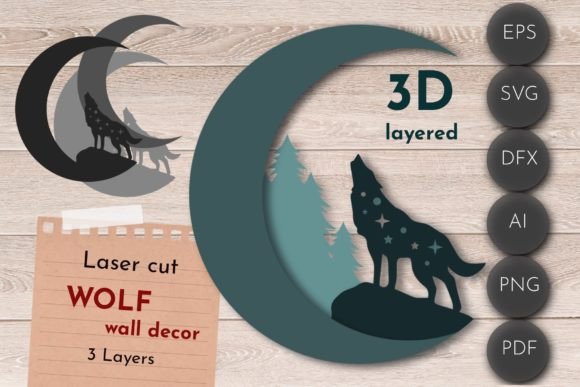
A 3D layered geometric panel typically consists of multiple flat layers arranged in a specific order to form a three-dimensional effect when viewed from the front. Each layer contributes to the overall visual impact by creating shadows, highlights, and spatial illusions. These panels are often used as standalone wall decorations or incorporated into larger projects such as photo frames, shadow boxes, or personalized gifts.
They come in various file formats like SVG, PNG, EPS, and DXF, making them compatible with laser cutters, CNC machines, and other digital fabrication tools. The base material can include card stock, wood, plastic, plywood, MDF, and more, allowing for flexibility depending on the intended use and budget.
Why Choose a 3D Layered Geometric Panel?
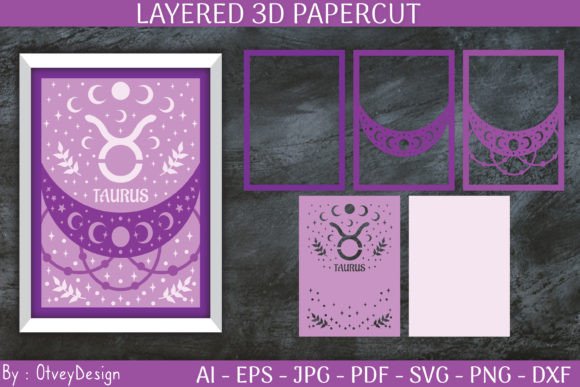
- Versatility: You can use all layers or just one or two, depending on your creative vision. This makes it ideal for both simple and complex designs.
- Customization: With a transparent background PNG and vector files, you have full control over color schemes and layout options. Experiment with different palettes to match your interior or event theme.
- Professional Quality: Files at 300 dpi ensure crisp details and clean edges, especially important for high-end prints or laser cutting.
- Educational Value: For educators or hobbyists, these panels offer an excellent opportunity to teach geometry, design principles, or hands-on crafting techniques.
1. Overlooking Material Thickness and Compatibility
One common mistake is not considering the thickness of the materials you plan to use. While card stock is great for beginners and lightweight displays, thicker materials like wood or MDF may require adjustments in spacing between layers to maintain the 3D effect.
Example: If you're using a laser cutter and choose 3/4 inch thick MDF without adjusting the layer gaps, the final piece might look flat rather than dimensional.
Better Approach: Always check the recommended material guidelines for your design. Start with thinner materials if you're new to working with layered panels, and gradually move to sturdier ones as you gain experience.
2. Resizing Without Adjusting for Thin Elements
Many users try to shrink the design to fit smaller spaces or budgets. However, if the original size exceeds 8 inches (20 cm) at its widest point, scaling it down too much can cause thin elements to become fragile or lose their visual appeal.
Example: Reducing a large starburst design by half may make the delicate points too weak to hold together after assembly.
Better Approach: Use the ZIP folder containing SVG, EPS, and DXF files to assess how the design scales. Test resizing in software before printing or cutting. Aim to keep the smallest dimension above 5 inches to preserve structural integrity and aesthetics.
3. Ignoring File Format Requirements
Each file format serves a specific purpose. Not all machines support every type, so choosing the wrong one could lead to compatibility issues or poor output quality.
Example: Trying to open an SVG file in a basic image editor instead of a vector program like Adobe Illustrator or Inkscape will result in a loss of editable layers and precision.
Better Approach: Ensure your machine or software is compatible with SVG, EPS, or DXF before downloading. These formats retain scalability and detail, which are essential for accurate reproduction of the 3D effect.
4. Underestimating Color Coordination
While the design allows for any color combination, some choices can clash or fail to highlight the 3D structure effectively. Poor color selection can reduce the perceived depth and make the piece appear cluttered or unbalanced.
Example: Using colors that are too similar across layers can make the individual parts hard to distinguish, weakening the visual impact.
Better Approach: Use contrasting colors for adjacent layers to emphasize the separation and depth. Tools like Adobe Color or Coolors can help you find complementary shades that work well together.
Plan Ahead with the Right Tools
Before starting your project, verify that your equipment supports the file types included in the ZIP folder. Laser cutters and CNC machines generally handle SVG, EPS, and DXF best. If you're printing instead, ensure your printer can manage layered materials and the required resolution.
Test Before Committing
Always do a small-scale test print or cut before committing to the full design. This helps identify potential issues with scaling, alignment, or material choice early on. A quick trial run can save time, money, and frustration later.
Consider the Final Display Environment
Think about where your panel will be placed. Will it be in a dimly lit room or under bright lights? Will it be viewed from a distance or up close? These factors influence how the colors and shadows interact and whether the 3D effect remains prominent.
Home and Office Decor
Use the 3D multilayer design as a feature wall hanging or desktop centerpiece. Pair it with neutral tones in your living room or office to let the panel stand out while maintaining a cohesive aesthetic.
Event and Wedding Signage
These panels are perfect for elegant directional signs, welcome boards, or even guest name tags. Their layered look adds sophistication and can easily be customized to reflect a theme—whether it's minimalist, bohemian, or bold and colorful.
Personalized Gifts
Give a unique gift by incorporating names, dates, or special symbols into the design. For instance, a geometric heart made from layered acrylic pieces can serve as a beautiful keepsake for birthdays or anniversaries.
Final Tips for Success
- Start with a clear idea of the purpose and placement of your panel to guide your material and size decisions.
- Use vector-based software to edit and preview your design accurately before production.
- Invest in good-quality materials—they directly affect the durability and visual appeal of your finished product.
- Don’t rush the assembly process. Precise alignment is key to achieving the desired 3D effect.
By avoiding these common mistakes and following best practices, you can turn your 3D Layered Geometric Panel into a stunning addition to your creative portfolio. Whether you're a seasoned designer or a first-time maker, this resource provides endless possibilities when used correctly.