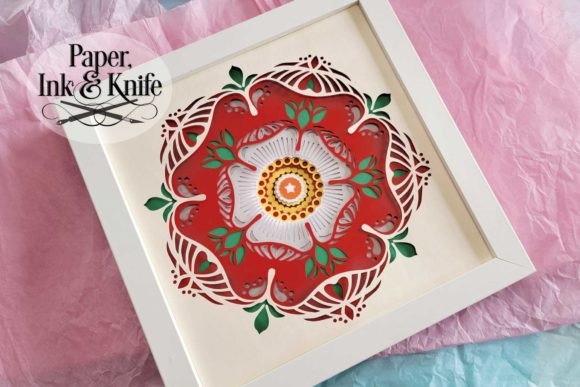
Tudor Rose 3D Papercut Shadowbox: A Layered Creative Solution for Art and Display
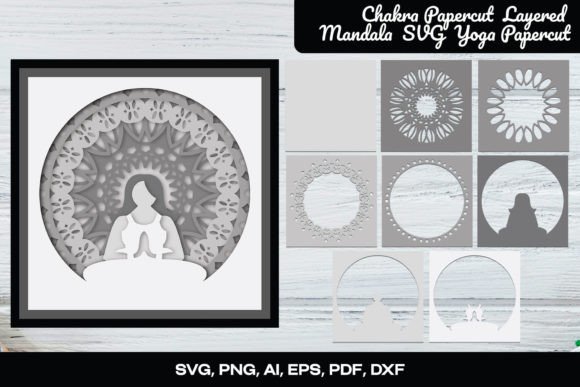
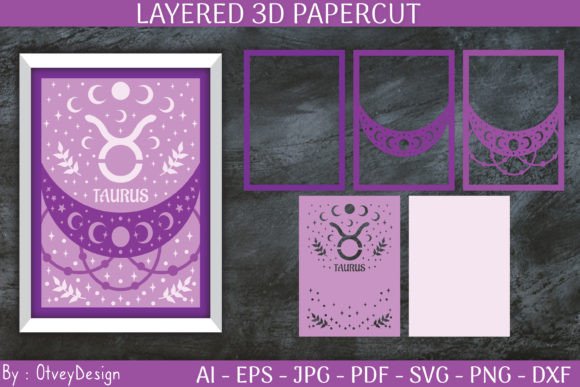
The Tudor Rose 3D Papercut Shadowbox is a detailed, layered paper art template designed for both digital and manual crafting. It offers a structured approach to creating a visually striking 3D shadowbox that features the iconic Tudor Rose design in multiple dimensions. With nine distinct layers, this template allows users to produce intricate papercut art without requiring advanced artistic skills or expensive tools. Whether you're an educator preparing classroom decorations, a hobbyist exploring papercutting, or a small business owner looking for unique product packaging, this shadowbox fits into a variety of workflows as a flexible and creative solution.
Understanding the Structure and Components
This template includes everything needed to assemble your own 3D papercut shadowbox. The materials are organized for efficiency, with each layer clearly numbered for straightforward construction. You'll receive:
- A PDF instruction file: Start here for clear guidance on how to cut, layer, and assemble the pieces.
- SVG files for Cricut users: Two versions—stacked and unstacked—to suit different cutting preferences and machine capabilities.
- DXF file for Silhouette machines: Ensuring compatibility across major digital cutting platforms.
- EPS file: A universal format for those using other software or preferring flexibility in editing.
- Black-outlined PDF for hand cutting: Ideal for traditional artists who prefer working with scissors or craft knives.
- PNG files: Full-color options for printing and resizing, making it easy to adapt the design to various shadowbox sizes or personal styles.
Preparation Before Starting
Before diving into the project, take a moment to review the included PDF instructions thoroughly. This ensures clarity about the assembly process and helps avoid common pitfalls. If you plan to use a digital cutting machine like a Cricut or Silhouette, make sure your software is up to date and compatible with SVG, DXF, or EPS files. Those opting for hand-cutting can benefit from printing the black-lined version onto cardstock or tracing paper for precision.
Also, consider where you want to place the finished shadowbox. While it’s sized for an 8 x 8 inch frame, the design can be easily scaled using machine software or printer settings. If you’re planning to resize manually, ensure your measuring tools and rulers are accurate to maintain the integrity of the design.
Integrating Into Your Workflow
The Tudor Rose 3D Papercut Shadowbox can serve as part of a larger creative workflow. For example, educators might incorporate it into lesson plans on historical symbolism or Renaissance art. Entrepreneurs could use it as a branded gift item or display piece at events. Bloggers and content creators may feature it in DIY tutorials or as part of seasonal decor ideas. In all these cases, the shadowbox acts as a versatile asset that enhances visual storytelling or adds a personal touch to professional projects.
Before the Project
Use the Tudor Rose 3D Papercut Shadowbox as a brainstorming tool or mood board element. Print out the PNGs or individual layers to visualize how they’ll fit into your space or theme. This can help guide decisions about color schemes, lighting, and framing options before any physical work begins.
During the Project
Once you start cutting, the numbered layers simplify the process. Work one layer at a time to avoid confusion, especially if you’re new to multi-layered papercut projects. Using double-sided foam tape between each layer adds depth, which is essential for the 3D effect. Begin by aligning the largest elements first, then build up complexity with smaller details. This methodical approach keeps your workspace organized and your progress steady.
After Assembly
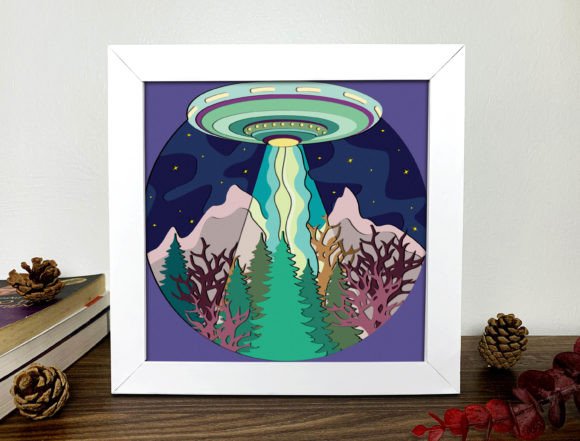
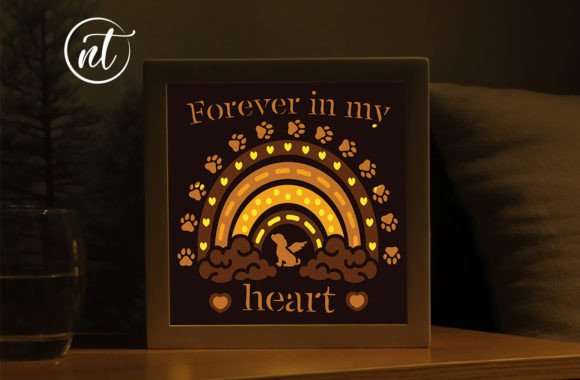
After assembling the shadowbox, you have several options depending on your intended use. If you're framing it, choose an 8 x 8 inch shadowbox frame for best results. However, it also looks impressive unframed when placed in a shallow box or displayed flat on a shelf. Consider adding custom touches such as a background image, handwritten notes, or even subtle LED lighting (optional) to elevate its aesthetic appeal.
Workflow Tips and Best Practices
- Start with the right tools: If you're using a digital cutter, ensure it's properly calibrated for the material you're using. For hand-cutters, invest in sharp blades and a self-healing mat to streamline the process.
- Print test pages first: Especially when resizing, print a small section to confirm alignment and proportions before committing to full sheets.
- Use quality adhesives: Double-sided foam tape is recommended for its ease of use and ability to add dimension. Avoid glue that dries too thick or seeps through the paper, as this can affect visibility and aesthetics.
- Work in a clean, well-lit area: Dust and glare can obscure fine details, so keep your workspace tidy and illuminated to ensure precision during cutting and assembly.
- Store extra parts safely: If you're not completing the project in one session, store the cut layers in labeled folders or containers to prevent mix-ups later.
Compatibility and Customization
One of the strengths of the Tudor Rose 3D Papercut Shadowbox is its adaptability. It works seamlessly with most modern cutting machines and software, thanks to the inclusion of SVG, DXF, and EPS formats. These files allow for precise scaling and positioning, making it ideal for both beginners and seasoned crafters. Additionally, the shadowbox doesn’t require any special lighting setup—though it can accommodate optional lights if you wish to enhance its visual impact further.
For customization, you can modify the design using vector-based software to match specific themes or branding needs. Adding text, changing colors, or incorporating other symbols can personalize the shadowbox for corporate gifts, event displays, or educational materials. Keep in mind that significant alterations may affect the balance of the design, so test changes on a single layer before applying them to all components.
Quality Control and Long-Term Use
To ensure long-term durability, use high-quality paper stock such as 65–110 lb cardstock. Thicker paper maintains shape better and resists warping over time. After assembly, handle the shadowbox gently to avoid misalignment of the layers. If you intend to display it frequently, consider laminating the front and back layers for added protection against dust and handling.
For storage, keep the assembled shadowbox in a cool, dry place away from direct sunlight. If you're preserving it for future use, disassemble the layers and store them in archival-safe folders. This preserves the condition of the pieces and allows for reassembly or repurposing down the line.
Use Cases Across Industries and Hobbies
This template isn’t limited to a single audience. Here are some real-world applications across different fields:
- Education: Teachers can create interactive history lessons around the Tudor era, using the shadowbox as a visual aid or student activity.
- Marketing and Branding: Small businesses or startups can integrate the shadowbox into promotional items, offering customers a tangible and memorable brand experience.
- Event Planning: Event decorators might use it as a focal point for themed parties, weddings, or exhibitions centered on British history or royal motifs.
- Personal Projects: Hobbyists can enjoy the satisfaction of building something intricate by hand, while still benefiting from pre-designed layers that reduce guesswork.
- Gift Giving: Handmade gifts always stand out. Add a note or signature to the base layer for a personalized touch that makes the shadowbox feel special.
Efficiency and Consistency in Production
If you're producing multiple copies of the shadowbox—such as for a class or a product line—establishing a consistent workflow is key. Set up a batch-cutting routine using your digital machine, ensuring that each set of layers is cut accurately and efficiently. Maintain a checklist for each step of the process to minimize errors and save time. For instance, after cutting, verify that all nine layers are present and correctly numbered before beginning assembly.
Automating the process with templates or scripts in your design software can also speed things up. Some users find it helpful to create a standardized folder structure for storing raw files, instructions, and completed projects. This organization pays off when managing inventory or tracking production timelines.
Practical Observations and Final Thoughts
Assembling the Tudor Rose 3D Papercut Shadowbox is quicker than many might expect, especially once the layers are cut. The instructions are thorough but not overly technical, allowing users to complete the project within an hour or two. The final result—a layered, dimensional Tudor Rose—is surprisingly elegant and can be displayed proudly in homes, offices, or classrooms.
Consider experimenting with different paper types or colors to match your style or project requirements. Metallic papers can give the rose a regal shimmer, while translucent vellum creates a soft, ethereal glow. Each variation opens up new possibilities for how the shadowbox can be used or interpreted.
Incorporating the Tudor Rose 3D Papercut Shadowbox into your workflow demonstrates how structured creativity can enhance productivity and engagement. Whether you're teaching, designing, or simply enjoying a weekend project, this template provides a solid foundation for bringing complex designs to life with minimal hassle and maximum satisfaction.